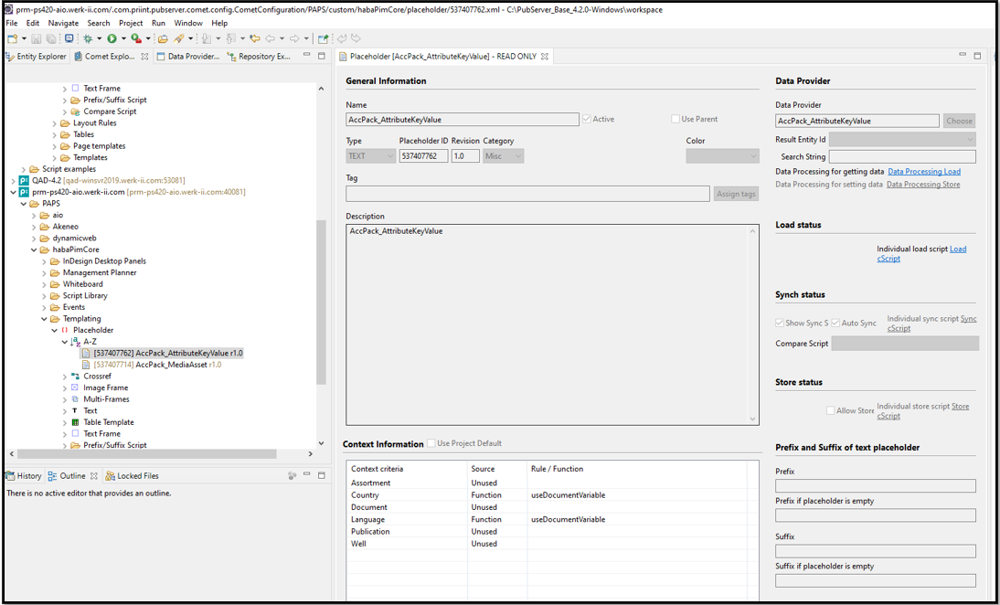
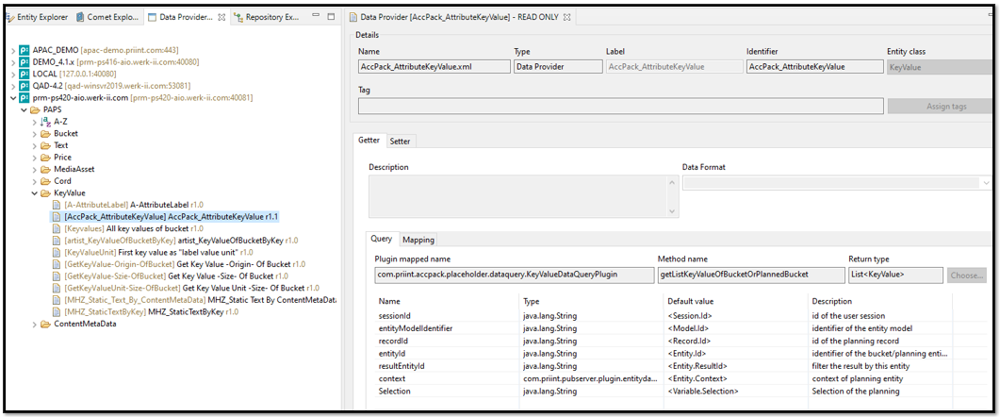
Using Accelerating Package in your Project
Requirements
You will have to know about the way the deployment package mechanism works in the priint:suite. Find out more in the knowledge base:
These steps are generic way to deployment package, depend which package you are working on, you will find where to download zip file and make deployment.
Deploy from the Admin module (preferred)
We recommend deploying the package with the import process in the Admin module.
- Open the Admin module and go to the Processes section.
- Start a generic import process with these settings:
- Process Type: Import
- Object Type: General
- Process: Package Deployment Process
- Set the process parameters. The most important one is Upload Deploy Package. It shows a drop zone, or a select-file dialog, where you drop the deployment package.
- Start the process and follow the instructions.
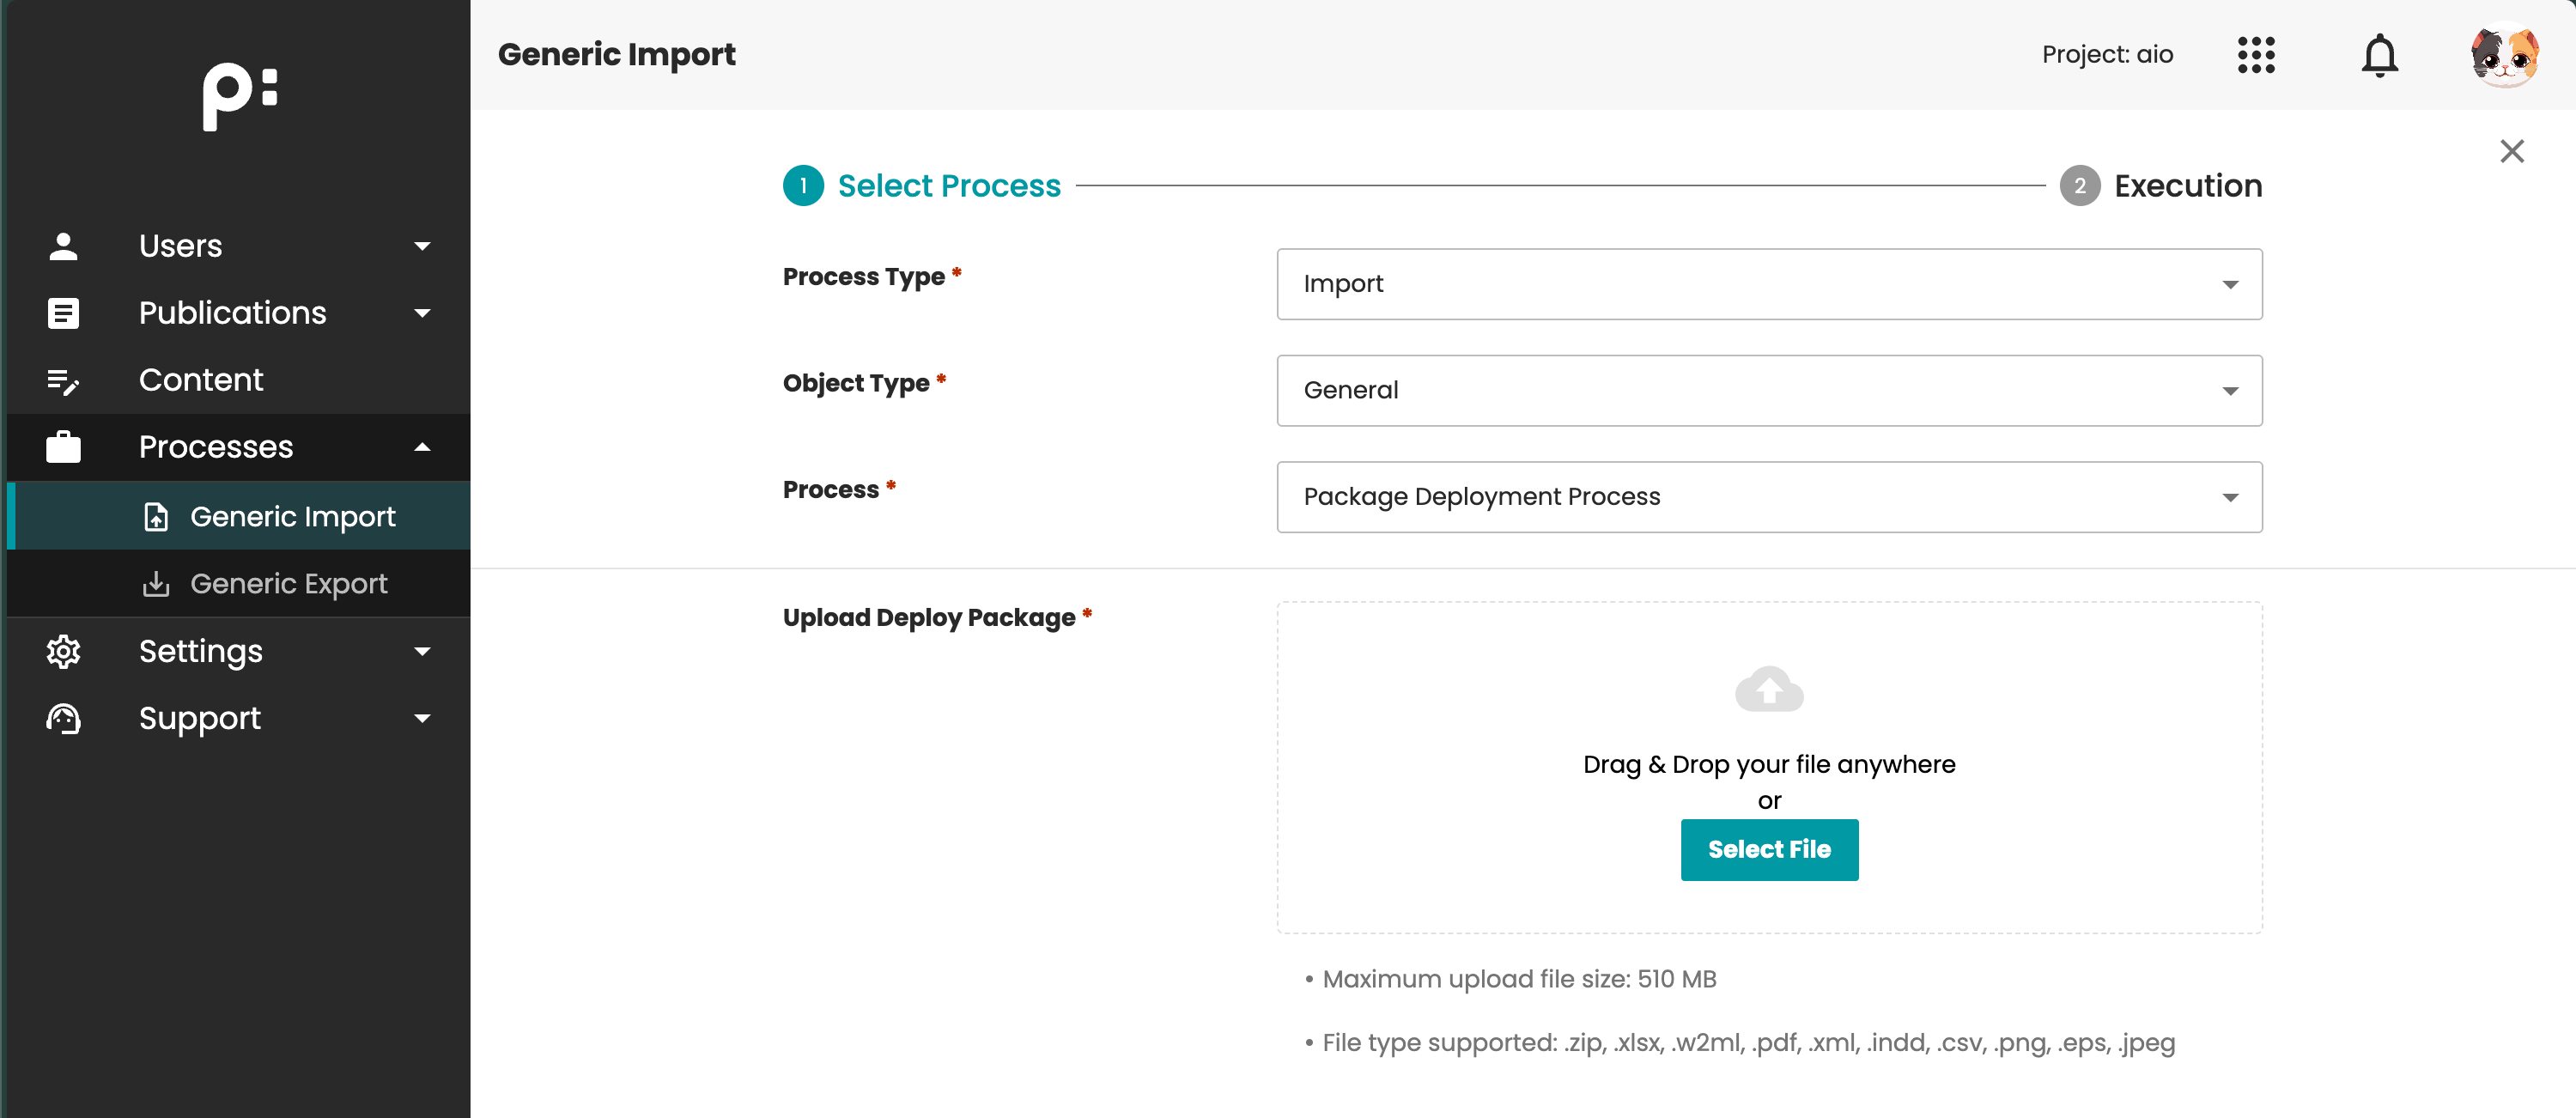
Dropping the package here does not always mean the downloaded zip can be used directly. An AccPack usually contains more supporting files. Unpack the download and check that it follows the required deployment package structure before deploying.
Deploy from the command line (alternative)
We assume that the deployment package is ready to use on the system you are intending to deploy.
Create an external configuration xml file
Example: you want to deploy AccPackAttributeKeyValue placeholder, the deployment package with same name: AccPackAttributeKeyValue_
-
Create configuration xml file with format "package name +
_configuration.xml"
e.g. AccPackAttributeKeyValue_configuration.xml
The structure of this file is as follows:<?xml version="1.0" encoding="UTF-8" standalone="yes"?>
<con:PluginConfig xmlns:con="com.priint.pubserver.config.manager/20130620" xmlns:dep="http://priint.com/pubserver.appserver.config/v1">
<con:name>AccPackAttributeKeyValue_configuration.xml</con:name>
<con:type>DeploymentConfiguration</con:type>
<con:custom>
<dep:deploymentconfiguration>
<dep:repositoryFolderMappings>
<dep:repositoryMapping
srcPath="com.priint.pubserver.comet.config.CometConfiguration/PAPS/custom/accpack/placeholder/"
destinationPath="com.priint.pubserver.comet.config.CometConfiguration/WerkII/custom/aio/placeholder/"
/>
<dep:repositoryMapping
srcPath="DataProviderManager/PAPS/default/"
destinationPath="DataProviderManager/WerkII/default/"
/>
</dep:repositoryFolderMappings>
</dep:deploymentconfiguration>
</con:custom>
<con:dependencies/>
<con:instances/>
</con:PluginConfig> -
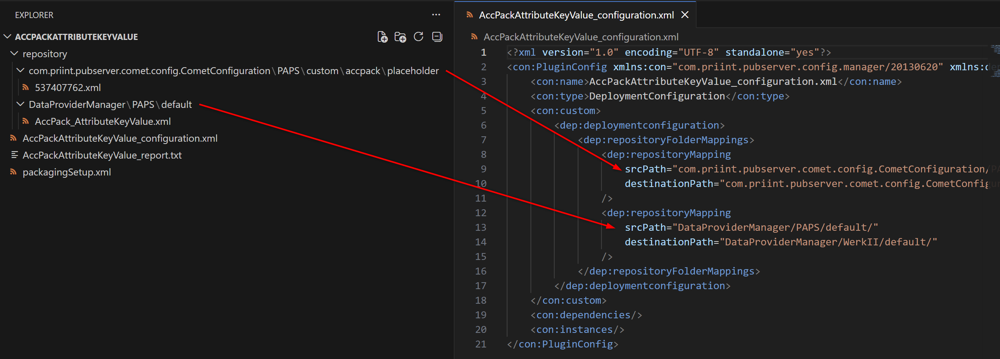
Map repository files into
srcPath -
Update
destinationPathwith your system's <client name> and <project name>-
Client name: PAPS to WerkII
-
Project name: accpack to aio
-
-
Put configuration xml file in the same folder as a package into the latest update folder
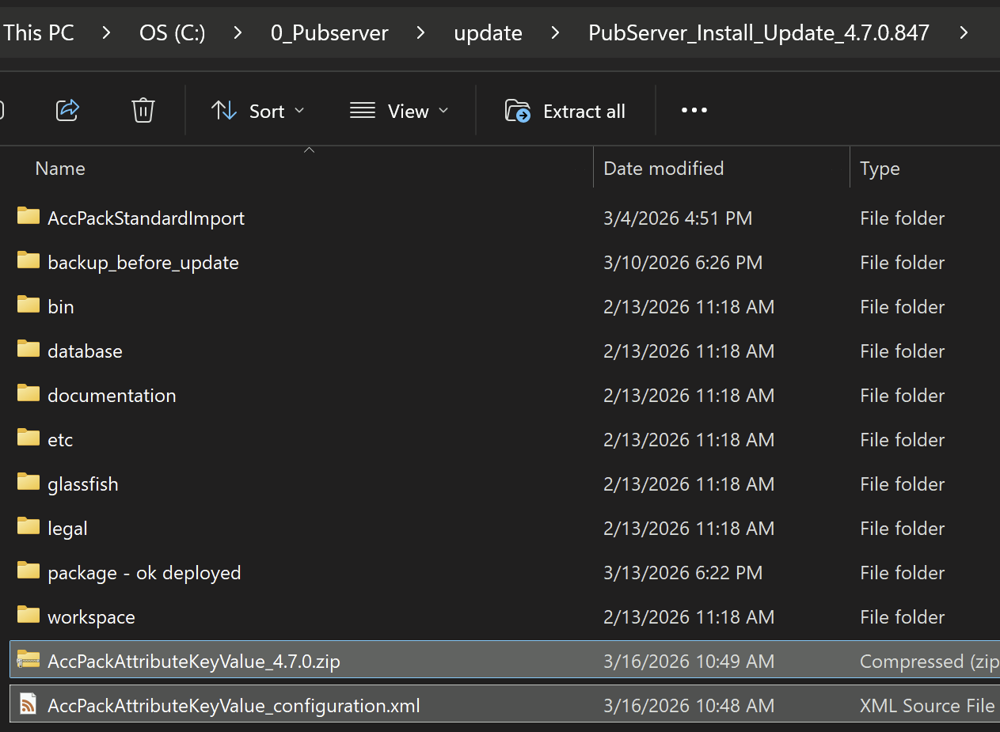
Deploy a new zip file as deployment package to new pubserver
-
Run the command line as administrator, and switch to pubserver latest update folder
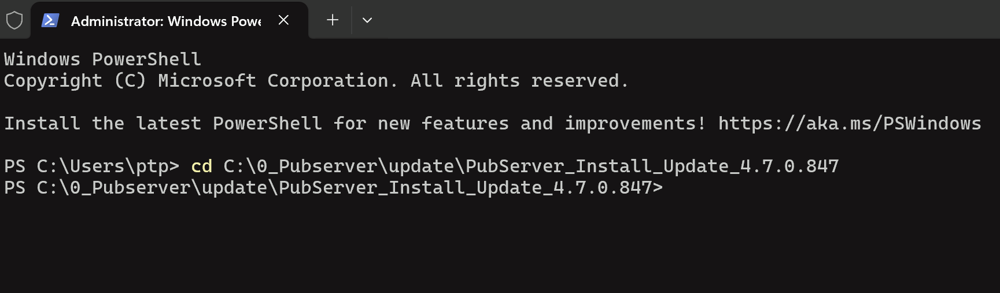
-
Deploy AccPackAttributeKeyValue with command line "pkgdeploy.bat AccPackAttributeKeyValue_
.zip" 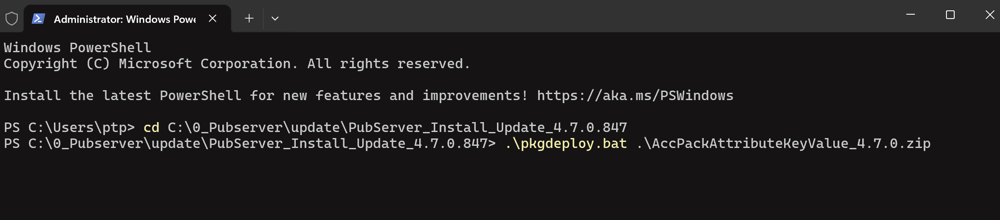
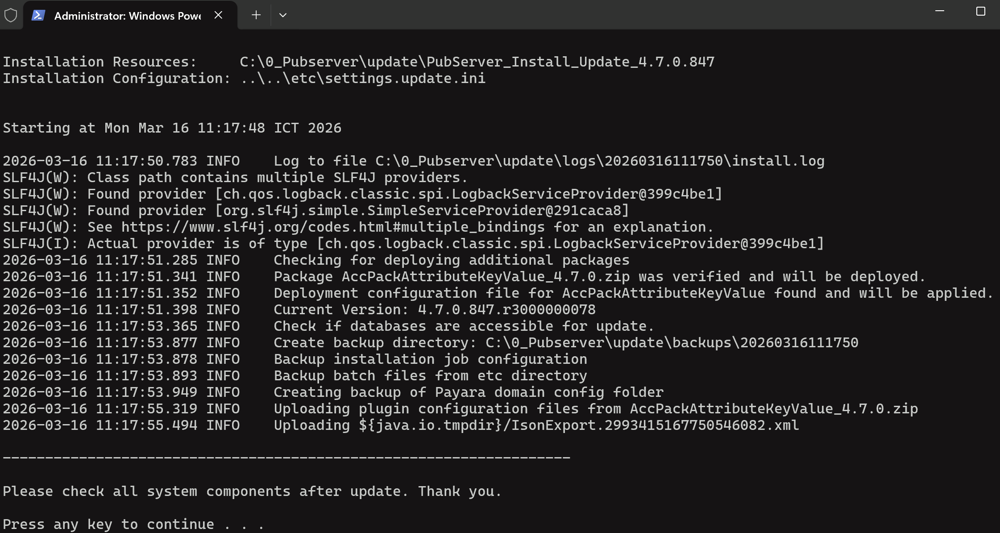
-
Check placeholder and data provider which were deployed in ISON