Installation Guide
This guide covers deploying the Consistent Demo System from scratch. The demo is distributed as a separate project because it provides two things that the AccPack documentation builds on: a pre-configured entity model (see Demo Data Model) and a set of worked-out example templates that are referenced throughout the documentation. Installing the demo gives you a working environment where every documented example can be reproduced.
Prerequisites
- A Publishing Server is installed with these additional modules:
- priint:bpm
- Rendering Service and InDesign Service (optional, but recommended)
- An empty entity model (
aio) and project (aio) needs to exist in ISON Eclipse. Check the ISON guide for instructions on how to create the project and entity model.
Prepare all packages beforehand you can find them on the priint webftp storage, in the priint_suite_accpacks folder.
Each AccPack has its own subfolder, and the demo data is in the Demo_DemoData folder. Please contact our support for access.
Accelerating Packs
- The Generic Placeholder AccPack is required. Installation steps are linked below.
- The Data Import AccPack is required. Installation steps are linked below.
- The Table Placeholder AccPack is required. Installation steps are linked below.
- The Productlist by Rule AccPack is required. Installation steps are linked below.
Demo_DemoData
BaroqueAndHeart_Plants.zip: Import Excel with the demo data (Baroque 'N' Heart)DemoPackage_<version>.zip: includes everything needed to deploy your project- Document template (
.inddfile) - This deployment package contains the priint:comet project, with all templates and page templates.
- The templates require at least Adobe InDesign CC 2025. A Rendering Service is not strictly needed, but the templates can only be edited in Adobe InDesign CC 2025 and higher.
- Document template (
Plants_image.zip: Image data needed by the demo data

1. Install the AccPacks
1.1 Generic Placeholder
The demo uses the Generic Placeholder AccPack for all template placeholders. Follow the Generic Placeholder: Installation and Configuration guide to deploy the plugin and placeholders.
1.2 Data Import
The demo uses the Data Import AccPack to load product data. Follow the Data Import: Installation and Configuration guide to deploy the Standard Import plugin, Camunda processes, and server settings.
The data import requires you to setup service user credentials in the Payara Admin.
Do not import the demo data yet. The import needs the entity model, which the demo package deploys in step 2.
1.3 Table Placeholder
The demo uses the Table Placeholder AccPack for product templates that show child bucket data as table rows. Follow the Table Placeholder: Installation and Configuration guide to deploy the plugin and placeholders.
1.4 Productlist by Rule
The demo uses the Productlist by Rule AccPack to give you a simple way to create custom configurations that evaluate planning. Follow the Productlist by Rule guide to deploy the plugin and placeholders.
2. Deploy the Demo Package
Install the demo package last, as it contains references to the packages installed in the previous steps.
Extract DemoPackage_<version>.zip to find aio_<version>.zip. The demo package consists of the following files:

Deployment Package
aio_<version>.zip contains the following elements:
- The demo entity model (see Demo Data Model)
- Demo page templates and product templates
- Connector configuration for the MUA Connector
This overwrites your current Publishing Server configuration. Back up your server before deploying. If you want to update from a previous version from the publishing server, note that any changes to configuration will be overwritten.
Deploy the demo package as described in Using Accelerating Package in your Project.
Document Template
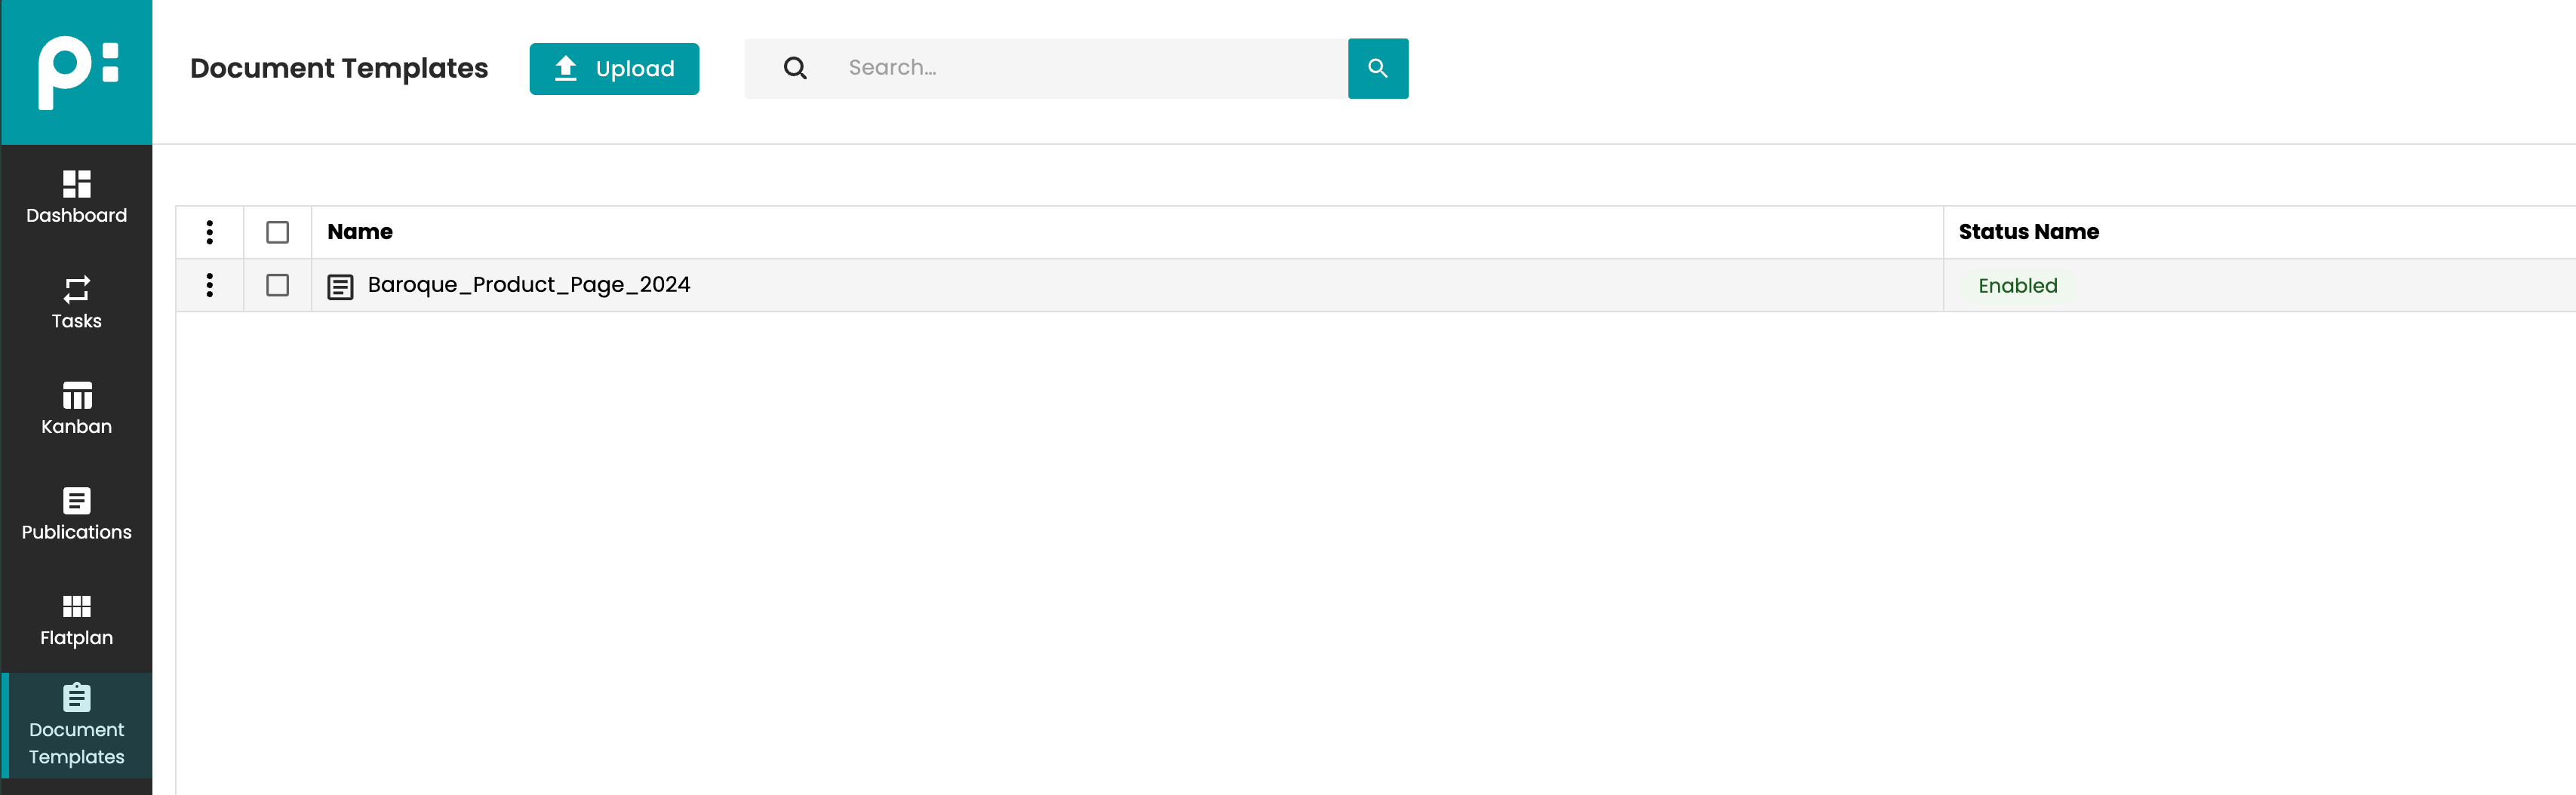
Open the priint:planner application and navigate to the document templates. Upload the included document template and start using it in your publications.
Demo Data
The entity model now exists, so you can import the demo data. The import also uploads the images referenced by the data. It runs Import image via system volume as a sub-process.
Extract BaroqueAndHeart_Plants.zip and Plants_image.zip, then import the included Excel file by following Import via AdminUI.
Prepare Demo Images
The demo images only land in the right place if the paths in the demo data match your volume. If you use a different ObjectStorage Volume configuration, edit the demo data (.xlsx) before you import it.
Correct the relative path in the MediaAsset_Path column so it matches the target path in your object-storage. You can also change MediaAsset_Path to point at your own images.

Additional AccPacks (Optional)
At this point the base demo is running. You can extend it by installing any other AccPacks relevant to your project. See the Overview for the full list of available AccPacks and what each one does.
Web2Publish (Optional)
To show self-service publishing flows, install the Web2Publish examples. They include a skeleton project and generic test configurations that work with the demo entity model and data. To use this self-service portal demo, you need to connect the Rendering Service with Adobe InDesign Server.
Get Started Using the Demo System
Using the Demo System covers the next steps after all demo content is installed.